Crown Moulding Installation
Installing Crown Moulding
At Crown Moulding Designs, we don’t rush through any of the steps when it comes to crown moulding installation. Adding crown moulding to your home starts well before the wood ever touches the walls.
Proper planning and preparation ensures that the crown moulding installation process goes quickly and smoothly leaving little room for errors. Our installation process is time test and proven, streamlining the crown moulding installation process from it’s inception.
Measuring & Cutting Crown Moulding
As the old adage goes: measure twice — cut once.
The first and most important aspect of the crown moulding installation process is ensuring all of your measurements are exact, both in terms of the crown moulding itself and also it’s placement on the wall. The proper measurements must be clearly marked in order to make the most accurate cuts possible for your crown moulding. When all cuts are made in this precise manner, the installation of the crown moulding on the wall becomes that much easier because everything will fit together perfectly.
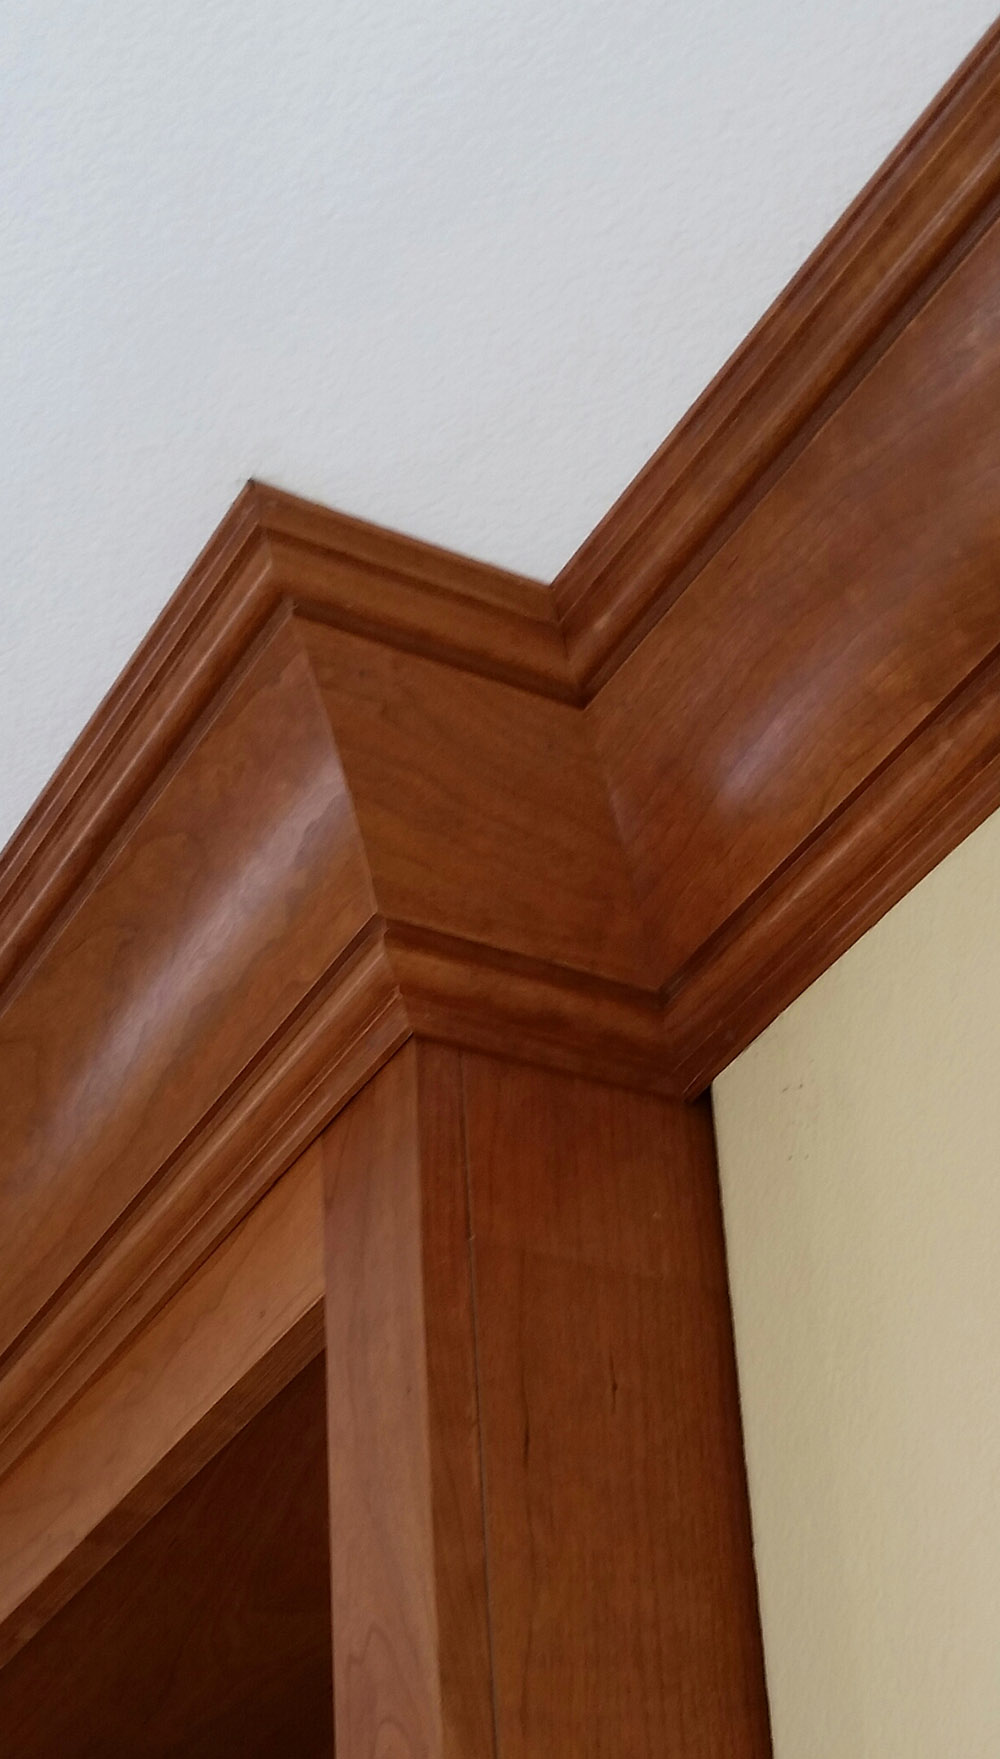
The most difficult part of preparing crown moulding is cutting the corners. Because the moulding sits at an angle between the wall and ceiling, you have to cut it differently then the other trim pieces. These compound angles are where amateur carpenters have the most difficulty because it requires a certain level of experience and confidence to get the cuts right. Typically we use a miter saw or coping saw to gain these precise cuts.
Check the Fit Before Installation
When all of your cuts are finished, check the fit of your pieces off the wall and determine if additional trimming is necessary for a flush finish. It is imperative everything lines up perfectly before you start the installation. Once we have confirmed proper fit, your crown moulding is essentially ready to be installed on the wall. However, first we like to double check the measurements and marks on the wall itself, taking the time to ensure everything is going to fit perfectly before we even being to install the crown moulding.
Installing Crown Moulding On The Wall
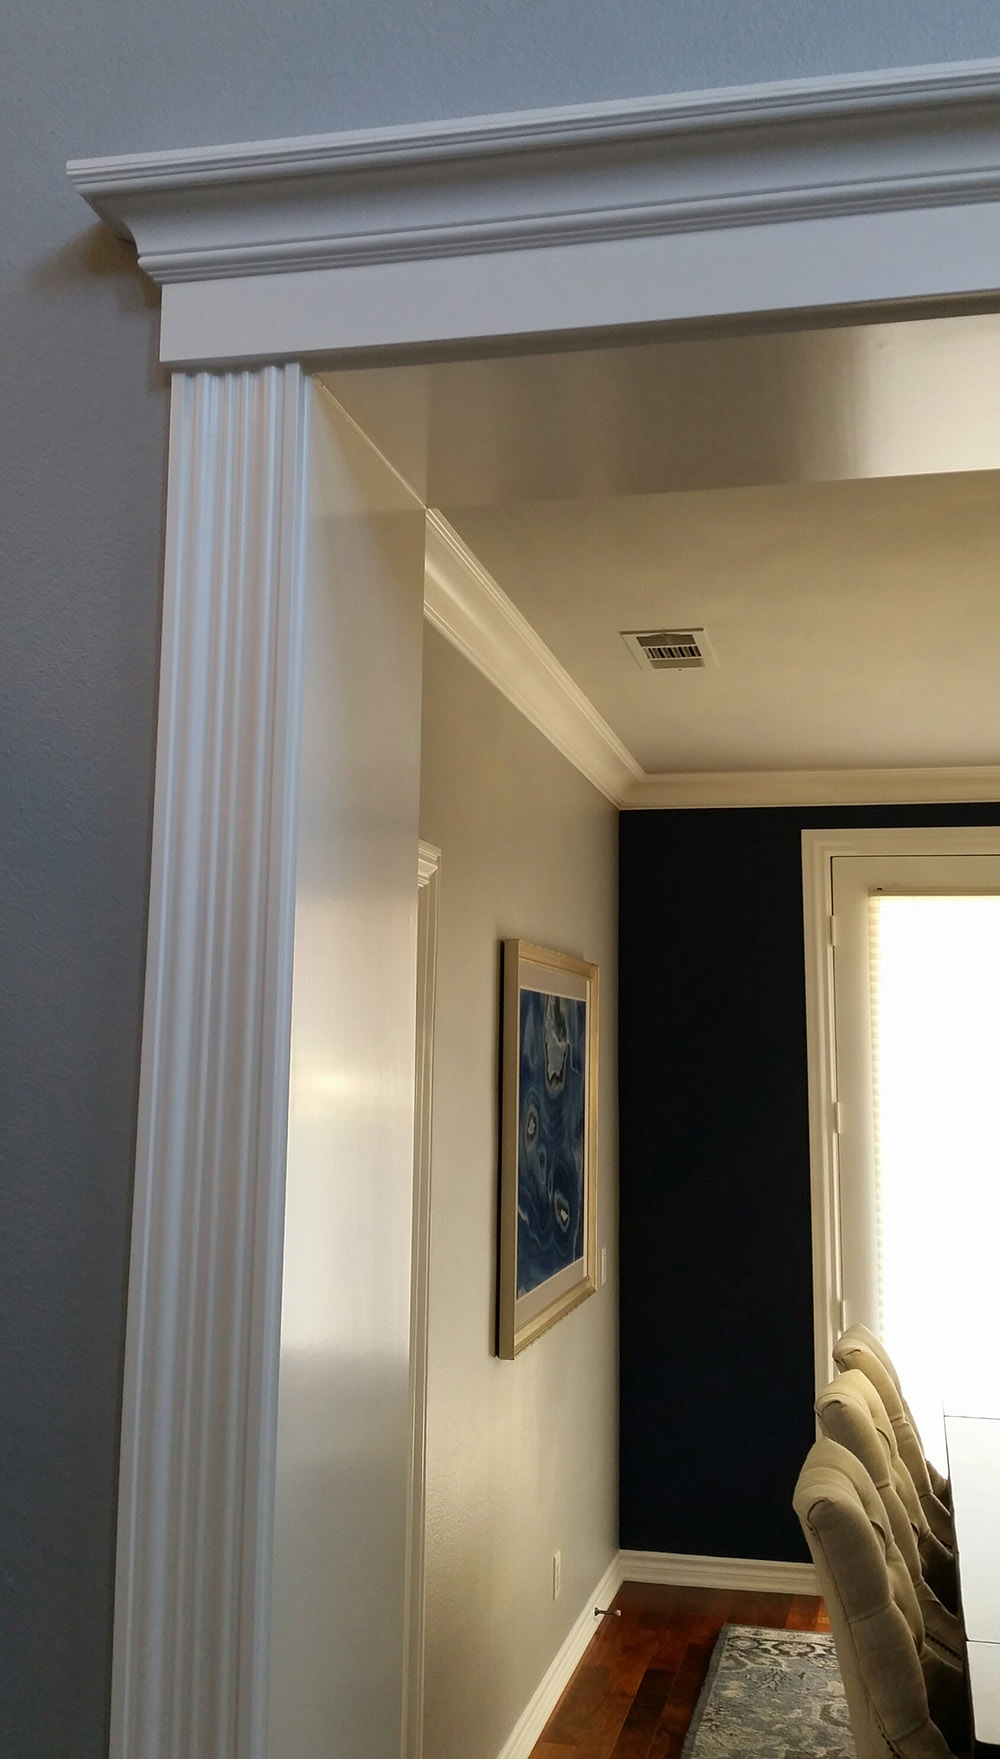
When we have determined that the fit is right, it’s time to go ahead and install the crown moulding on the wall itself. Depending on the length of the crown moulding, it can sometimes take more than one person to line everything up properly. Using finishing nails and paintable caulk, we attach the crown moulding as tight as possible, using caulk to fill in the gaps and spaces.
For the outside corners, we ensure a completely flush meeting point by making precise miter cuts on the crown moulding before installation. Additionally and depending on client needs, we use corner blocks instead to finish out the connections of the crown moulding for a clean and professional look.
If you have any further questions about our crown moulding installation process, feel free to contact Crown Moulding Designs for more information.
Interested in a free in-home design consultation?
Let our experience work for you. Based on your floor plan, ceiling heights, style, furnishings and preferences, let us design a well balanced theme throughout your home.